|
<< Click to Display Table of Contents >> Adding a Document |
  
|
|
<< Click to Display Table of Contents >> Adding a Document |
|
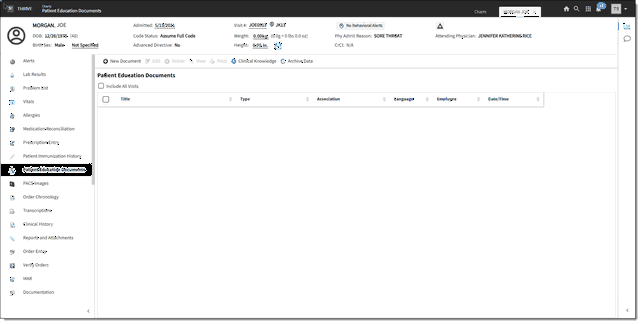
From the main Patient Education Documents window, select + New Document to begin. The Patient Education Document Search screen is displayed.
1.Search for an Education Topic: There are several ways to browse for patient education topics. In the Search field, select the option that works best for the document you are looking for:
•Patient-Specific: This is the default selection and provides a list of education documents related to the patient's problem list, medication list, and ordered lab tests. Use the Category, Type, Language, and Keyword fields to further refine your search. Once the related topics are displayed, you can select Include Resolved Problems or Include DC'd Medications to include those items in the list.
•By Category: Selecting this option requires that you make a selection in the Category field. The Category field lists categories of topics available in the education database. Select the appropriate category. Then, type the text you are looking for in the Keyword field. Items that match the keyword text found in the category you selected are displayed. Use the Type and Language fields to further refine your search. Once the related topics are displayed, you can select Include Alternate Titles in Keyword Search to include additional topics that include the keyword you typed in the Keyword field. A topic has a main title or name that appears on the related education documents and up to six additional descriptions that may be used as search terms. NOTE: If you select the Include Alternate Titles in Keyword Search check box while searching by Category and then switch to Custom (or vice-versa), the Include Alternate Titles in Keyword Search check box remains checked.
•Custom Create Documents: This option displays site-specific custom documents and documents that have been modified for the patient. Use the Category, Type, Language, and Keyword fields to further refine your search. Once the related topics are displayed, you can select Include Alternate Titles in Keyword Search to include additional topics that include the keyword you typed in the Keyword field. A topic has a main title or name that appears on the related education documents and up to six additional descriptions that may be used as search terms. NOTE: If you select the Include Alternate Titles in Keyword Search check box while searching Custom documents and then switch to Category (or vice-versa), the Include Alternate Titles in Keyword Search check box remains checked.
•Lab Tests: Selecting this option displays documents associated with the patient's resulted lab tests (to display here, the lab item must have an associated LOINC code in the hospital item master. Use the Type, Language, and Keyword fields to further refine your search.
•Problem List: This option displays topics associated with the ICD-9 and ICD-10 codes on the patient's Problem List. Use the Type, Language, and Keyword fields to further refine your search. Once the related problem topics are displayed, you can select Include Resolved Problems to include problems on the patient record that are marked as Resolved.
•Drug Information: Selecting this option displays a list of medication education documents based on the patient's home medications as well as active medications. Use the Category and Language fields to further refine your search. Once the related topics are displayed, you can select Include DC'd Medications to include those items in the list.
2.Select the Topic(s) and Add to Pending List: Select a single or multiple topics using the check boxes. Then, select Add to Pending (located above the Patient Education Document Search window). Or, you can double-click a single topic to add it to the Pending Documents List (located to the right of the screen). Repeat the search process using the information in step 1 to add more documents to the Pending List.
3.Move, View, or Print Topics on the Pending List: From the Pending List, select one or multiple topics and then select any of the following options:
•Update Pending - This option adds the selected documents to the patient's Patient Education Document list.
•View Selected - This option displays the document in a viewer. Only one document can be viewed at a time. If multiple documents are selected, the View Selected button is disabled.
•Print Selected - This displays the Select a printer screen. To print to the current workstation printer, select the Workstation button. Or, select the desired printer and click OK. TIP: Double-clicking the desired printer also sends the selected document(s) to the printer.
•Remove - This option removes the document from Pending List. NOTE: There is no warning message. Once you select the Remove button, the document is removed.
•Clear All Pending - This option clears the pending list of all topics. NOTE: There is no warning message. Once you select the Clear All Pending button, the documents are removed.
4.Once you have finished adding documents, click the blue back arrow button to return to the Patient Education List. The documents you added are now displayed in the patient's education list. You can do perform several actions with the documents on the list. See the Working with Existing Documents section for details.