|
<< Click to Display Table of Contents >> Check Box |
  
|
|
<< Click to Display Table of Contents >> Check Box |
|
Check boxes should be used if multiple answers are possible for a single question.
1. Select New Control.
2.Select Check Box.
Select Electronic Form Maintenance > Electronic Form > New Control > Check Box
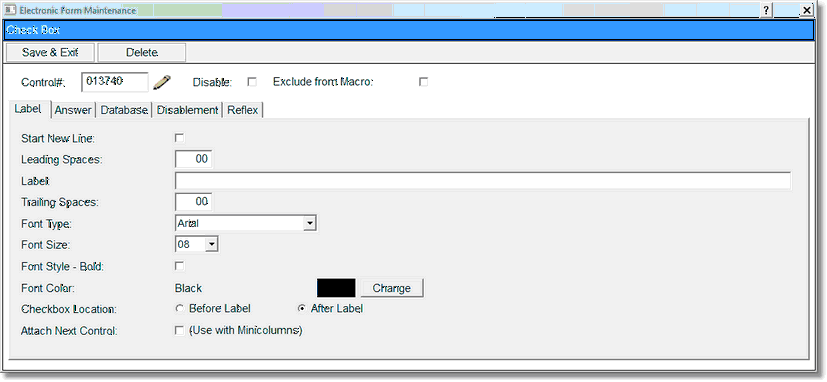
Check Box Control
The following options are available of the Label Tab:
•Select Disable if the Check Box is to be inactive on the electronic form but is not to be deleted from the setup. A disabled control will have an asterisk (*) appear next to the control number on the Electronic Form Maintenance display. When the form is previewed, the check box will not appear on the screen.
•Select Start New Line if the answers are to display on a new line of the Electronic Form.
•Enter the appropriate number of spaces before the Check Box label by selecting Leading Spaces.
•Select the Label field and enter the answer as it is to appear on the Electronic Form.
•Enter the appropriate number of spaces to be entered after the label in the Trailing Spaces field.
•Select the font type in the Font Type field.
•Select the font size in the Font Size field.
•Select Font Style – Bold if the label will display in bold.
•Select Change to change the default font color.
•To set the check box in the proper location, in the Check box Location field select Before Label or After Label.
•Select Attach Next Control when in a multi-column setup, if the next control should remain in the same column as this control.
Select the Answer Tab to continue the text box control setup.
Select Electronic Form Maintenance > Electronic Form > New Control > Check Box > Answer
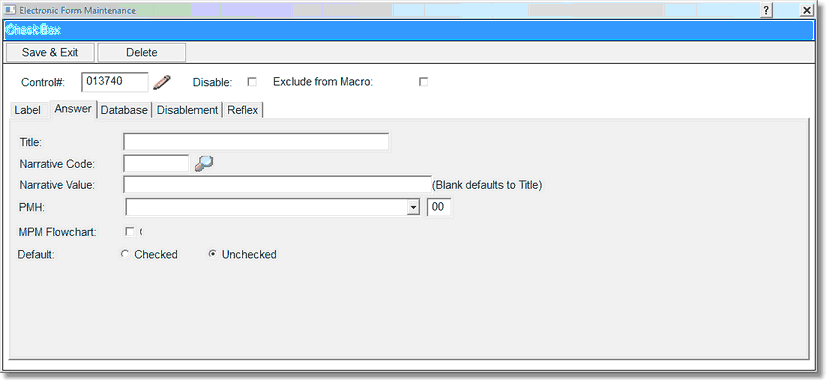
Check Box Control Answer Tab
•Enter the Title that will display in the Changes/Detail screen on the patient's form.
•The Narrative Code, Narrative Value, and PMH fields are no longer used.
•Default: If the default field is checked, this will be the answer that appears on the form when it is selected on a patient.
Select the tab marked Database to continue the text box control setup.
Select Electronic Form Maintenance > Electronic Form > New Control > Check Box > Database
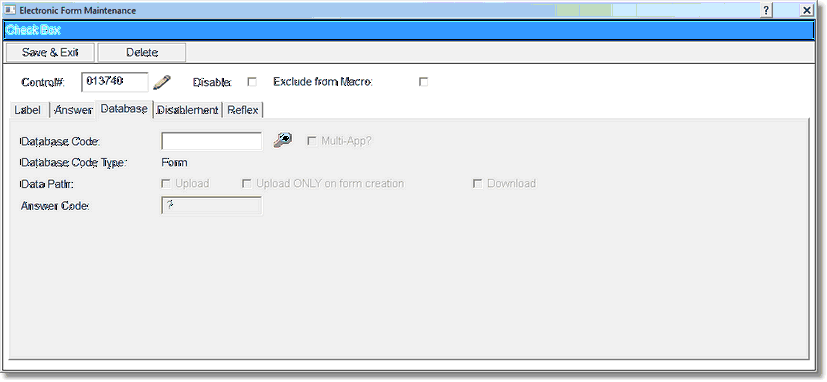
Check Box Control Database Tab
•Select the magnifying glass icon next the Database Code field to search for existing database codes.
•This will open the Database Links screen. Select the appropriate link from this listing.
17.Select the Data Path. The Data Path field has three options:
•Upload will load information from TruBridge EHR to the Electronic Form.
•Download will load information from Electronic Forms to TruBridge EHR.
•Upload ONLY on form creation will populate the radio button if there is already an answer supplied for the patient in TruBridge EHR or on another form associated with this code upon opening the form for the first time only.
NOTE: To change the code to a Multi-Application code so that the answer may populate the POC Flowchart, select the Multi-App check box after loading the form/formless database code.
See Disablement or Enablement for information on the Disablement Tab
Select the tab marked Reflex to continue the check box control setup.
Select Electronic Form Maintenance > Electronic Form > New Control > Check Box > Reflex
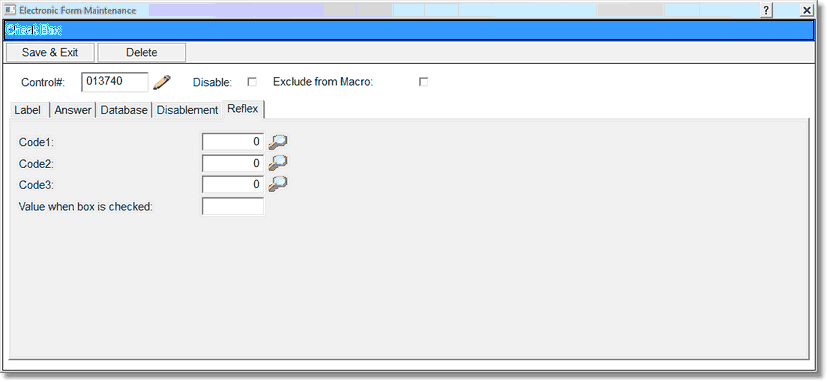
Check Box Control Reflex Tab
•Select the magnifying glass to access the Reflex Look-up and select the appropriate reflex. A maximum of three reflexes may be set per control. Select the appropriate reflex from the Reflex Look-up. (Please refer to Reflexing Chapter for more information on reflexing.)
•An (R) appears on the maintenance screen when a check box has a reflex code in the setup.
•To save the setup, select Save & Exit.
•To exit no update, select Delete.