|
<< Click to Display Table of Contents >> Mouse Over Help Area |
  
|
|
<< Click to Display Table of Contents >> Mouse Over Help Area |
|
To create a mouse over help area:
1.Select New Control.
2.Select Help Area.
3.The Help Area Maintenance screen will display.
Select Electronic Form Maintenance > Electronic Form > New Control > Help Image
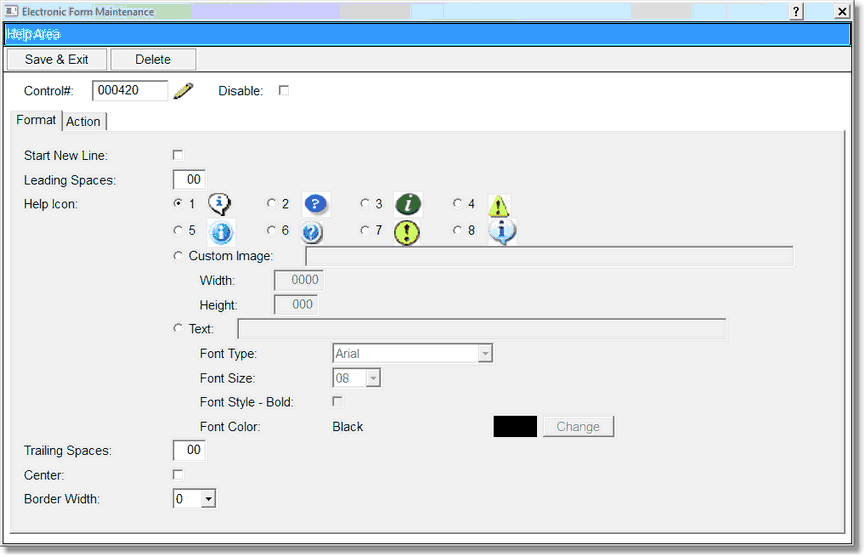
Help Area
4.Select Disable if the Help Area is to be inactive on the electronic form but is not to be deleted from the setup. A disabled control will have an asterisk (*) appear next to the control number on the Electronic Form Maintenance display. When the form is previewed, the help area will not appear on the screen.
5.If the entry is to be on a new line in the Electronic Form, select Start New Line.
6.Select the Leading Spaces field and enter the number of spaces before the help area.
7.Select the icon for the help area by selecting one of the 8 predefined choices in the Help Icon field.
8.The Custom Image field is not in use at this time.
9.TheText field under the Help Icon field is used with a text help area.
10.To set the font for the help area, select the Font Type field. The font Options are: Arial, Courier New, and Times New Roman.
11.To set the size of the font for the text, select the Font Size field. The font size options are 06-24.
12.To set the font in bold select Font Style – Bold.
13.To set the color of the font, select Change in the Font Color field.
14.Enter the number of spaces to follow the help area by selecting the Trailing Spaces field.
15.To center the help area, select the Center field.
16.To set the action of the help area, select the Action tab on the Help Area Maintenance screen.
Select Electronic Form Maintenance > Electronic Form > New Control > Help Image > Action
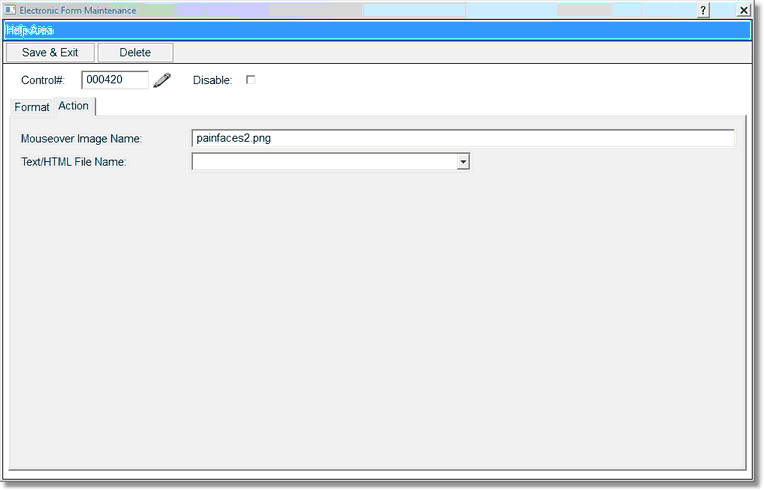
Help Area
17.Options for the Action tab are Mouseover Image Name and Text/HTML File Name. To set up a Mouseover Image Name field and key in the image name as listed below. This will activate the help area when the mouse moves over the help area.
18. Select save the information entered, select Save & Exit. Select Delete to exit no update.
The following are available to be used as a Mouse over area:
This list also includes all .png files listed under within Image Area.
pupilchart.png
painscale1.png
painscale2.png