|
<< Click to Display Table of Contents >> Scanning the Patient's Wristband |
  
|
|
<< Click to Display Table of Contents >> Scanning the Patient's Wristband |
  
|
The patient's wristband may be scanned from the Patient Medication List, the MAR, or the Medication Administration screen.
•To initiate Medication Verification, scan the patient's wristband directly from the Patient Medication List (see Patient Medication List).
•To begin the Medication Verification process from the MAR, access MAR (see MAR Access), and scan the patient's wristband.
•To begin the Medication Verification process from the Medication Administration screen, access MAR (see MAR Access), select a medication or administration time, and scan the patient's wristband.
•If a patient who was scanned via the Patient Medication List has been discharged, the following alert is generated: "Warning: [Account Number] has been discharged. Please access via eMAR."

Alert
•Select OK to return to the previous screen. This patient must be scanned via the MAR or the Medication Administration screen. This alert is stay type-specific as defined in the EMAR Settings table.
•If accessing Medication Verification via the EMAR or Medication Administration screen, the selected patient must be scanned. If an attempt is made to scan a different patient, the following alert is generated: "Wrong patient. Please scan via Patient Medication List or correct chart."

Alert
•Select OK to return to the previous screen. Navigate to the correct patient's account or access the Patient Medication List. Scan the patient's wristband to continue with Medication Verification.
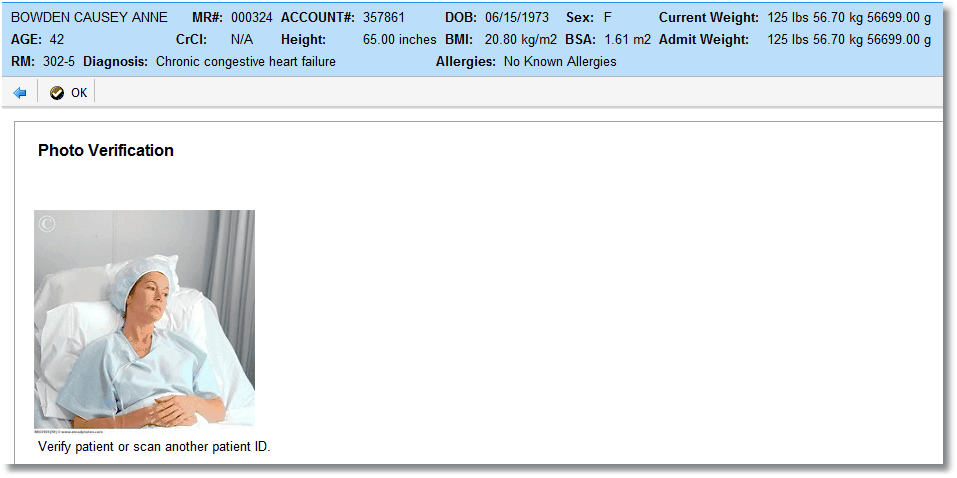
•If the patient's wristband is scanned without issue and the facility is utilizing Photo Verify, the patient's image will display for verification after the wristband is scanned, regardless of the access point.

Photo Verify
•The patient demographics panel pulls from the Registration and Clinical Information fields on the account and may include the following: First Name, Last Name, Medical Record Number (MR#), Account Number, Date of Birth (DOB), Sex, Current Weight, Age, Creatinine Clearance (CrCL), Height, BMI, BSA, Admit Weight, Room (Rm), Diagnosis, and Allergies.
NOTE: If demographic data includes a Diagnosis, it will display according to the following hierarchy:
▪Principal (Grouper) diagnoses, if available
▪If no Principal Diagnoses, use the Chief Complaint
•If the patient's identity is verified via the photograph, select OK to continue with medication administration. If verification via the image is not possible, scan another patient ID or select the back arrow to return to the Patient Medication List/MAR/Medication Administration screen. If an image is not available for the patient, an option to override Photo Verify will display.

Photo Verify
•Another patient ID may be scanned or the back arrow may be selected to return to the Patient Medication List/MAR/Medication Administration screen. To continue with medication administration, select an override reason from the drop-down menu, then select OK.
•If Medication Verification was initiated via the Patient Medication List, the patient's MAR will display, defaulted to the "Due" filter, after Photo Verify is complete. If the wristband was scanned from the patient's account, the MAR or Medication Administration screen will display after Photo Verify is complete.
•If Photo Verify is not being utilized, the applicable screen will immediately display when the patient's wristband is scanned.
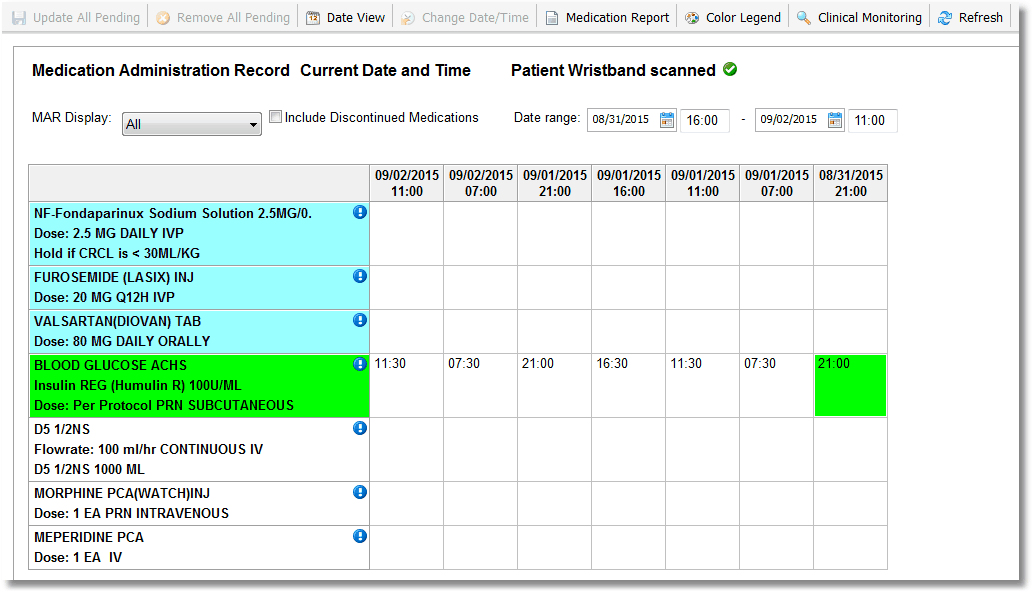
Select Patient Chart > MAR and scan the patient's armband.

MAR Patient Wristband Scanned
•"Patient Wristband scanned" displays at the top of the MAR and the Change Date/Time option is disabled denoting that the TruBridge EHR is in Medication Verification mode. If the user is on the Medication Administration screen, "Patient Wristband Not Scanned" will be replaced by "Medication Not Scanned" and the Change Date/Time option will be disabled denoting that the system is in Medication Verification mode.
•The screen will remain in Medication Verification Mode until the user exits the patient's account.