|
<< Click to Display Table of Contents >> Schedules |
  
|
|
<< Click to Display Table of Contents >> Schedules |
|
The Schedules table is where schedules will be housed. The schedule will have resources attached to it which will then allow patients to be scheduled under those resources. To begin creating schedules, users will need the Behavior Control "Create/Edit My Schedules" set to allow in Identity Management. Only the user that originally creates a schedule will be able to make changes to the schedule. If a user is needing to make changes to a schedule created by another user, they will need the Behavior Control "Edit Other User's Schedules" set to allow in Identity Management.
Schedules may also be set up within the Appointment Scheduler through Schedule Options.
NOTE: If the signed-on user has access to Table Maintenance via behavior controls in Identity Management, they will be able to view all schedules regardless if the schedules are public or have been created by another user.
Select Web Client > Tables > Patient Intake > Schedules
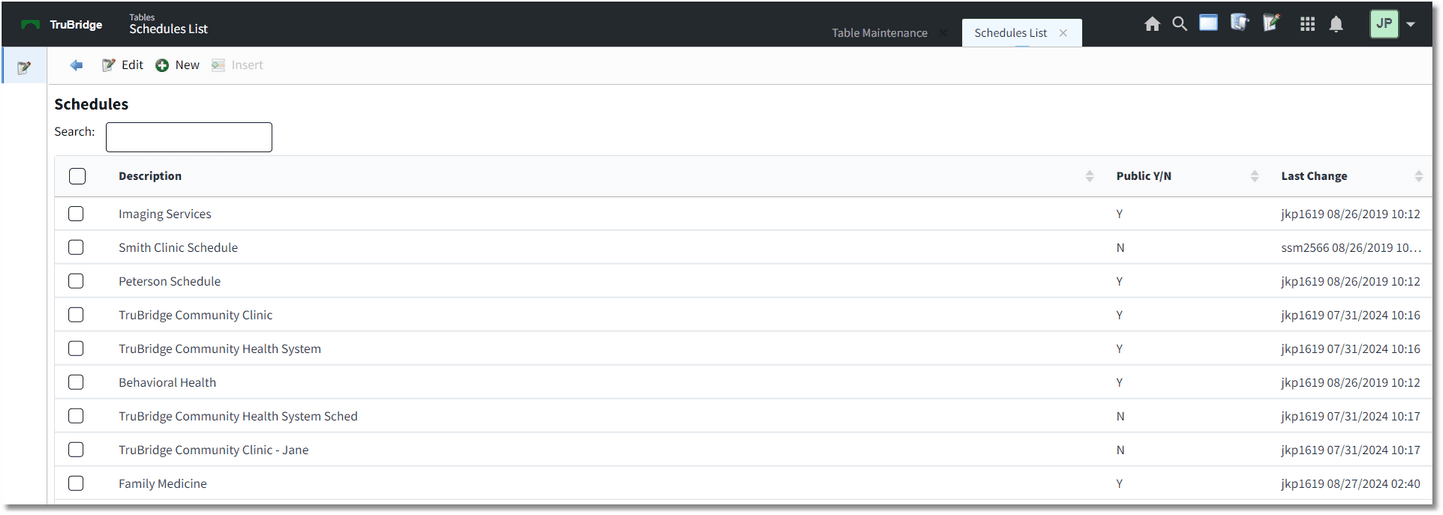
Table Maintenance - Schedules
Below is an explanation of each column:
•Description: The description of the schedule
•Public Y/N: This shows is the schedule is public for others to use. Will show Yes or No.
•Last Change: Displays the date and time as well as the login of the user who last edited the schedule
Action Bar options:
•Edit: Selecting this option will allow the information on the schedule to be changed.
•New: Selecting this option will allow a new schedule to be created.
Schedule Edit - New
Below is an explanation of each field:
•Description: The name of the schedule
•Default Grid Increments: The number of minute increments to display on the scheduling grid
•Military Time: Selecting this option will display the scheduling grid times in Military Time.
•Public: Selecting this option will make the schedule available to all users. The schedule may then be copied to another schedule.
Below is an explanation of each column:
•Description: The description of the resource attached to the selected schedule.
•Type: The type of resource (Location or Personnel) attached to the selected schedule.
Schedule Edit - Edit
Action Bar options:
•Save: This option will save the setup entered on the screen.
•Save As: This option allows the schedule to be saved under a new schedule description. Once selected, make the necessary changes and select Save.
•Add Resource: Selecting this option will go to the Resource Selection screen to add resources to the schedule.
•Remove Resource: Selecting this option will remove a selected resource from the schedule.
•Preview: Selecting this option will show how the schedule will be displayed in the Day View on the scheduling grid. This is a view-only screen that may be used to determine if the schedule is set up appropriately.
•Delete: Selecting this option will delete the schedule from the system. If selected, a prompt will display stating, "This schedule may be used by other employees. Do you wish to proceed?". Selecting Yes, will delete the schedule. Selecting No, will return back the Schedules screen.
NOTE: If a schedule needs to be deleted, and is being utilized by one or more user logins, users will need the Behavior Control "Edit Other User's Schedules" set to Allow in Identity Management. This will allow the schedule to be deleted regardless if others are using the schedule. If users do not have the "Edit Other User's Schedules" Behavior Control, they will only be able to delete schedules they created.
NOTE: The Delete option will be inaccessible if the schedule has been marked as Public by another user.
•Hover Maintenance: Selecting this option will allow each schedule's information that displays in the patient pop-up box on the scheduling grid to be customized. Up to seven lines of information may be selected. If nothing is selected in this option, the pop-up will display the default five lines (Date of Birth, Account Number, Patient Phone Number, Precertification, Task).
•Change Order: Selecting this option will allow the order of the locations on the schedule to be rearranged. The order in which the locations appear on the Schedule Edit screen is the order that will be displayed on the scheduling grid.
Resource Selection
Below is an explanation of each column:
•Search Resources: A listing of all available resources that may be selected for the schedule. A search option is available at the top of the screen. To add a resource to the schedule, select the green plus sign to add it to the Pending Resources column.
•Pending Resources: A listing of selected resources from the Search Resources column will display here. To remove a resource from this column, select the red minus sign.
Action Bar options:
•Save Pending: This will save all resources in the Pending Resources column and bring the user back to the Schedule Edit Screen.
•Clear Pending: This will remove anything in the Pending Resources column.