|
<< Click to Display Table of Contents >> Schedule Options |
  
|
|
<< Click to Display Table of Contents >> Schedule Options |
|
To begin, select ![]() Schedule Options within Patient Scheduling.
Schedule Options within Patient Scheduling.
The My Schedules screen will then display. To add an existing schedule, or create a new schedule, select ![]() Add.
Add.
A list of public schedules, or schedules previously created by the signed on user, may appear on the screen. To begin creating a new schedule, select ![]() New.
New.
NOTE: To begin creating schedules, users will need the Behavior Control "Create/Edit My Schedules" set to allow in Identity Management, otherwise only the user that originally creates a schedule will be able to make changes to the schedule. If a user is needing to make changes to a schedule created by another user, they will need the Behavior Control "Edit Other User's Schedules" set to allow in Identity Management.
NOTE: If there are no public schedules, or previously created schedules created by the signed on user, no schedules will display and a new one will need to be set up.
Select Web Client > Scheduling > Schedule Options > Add > New
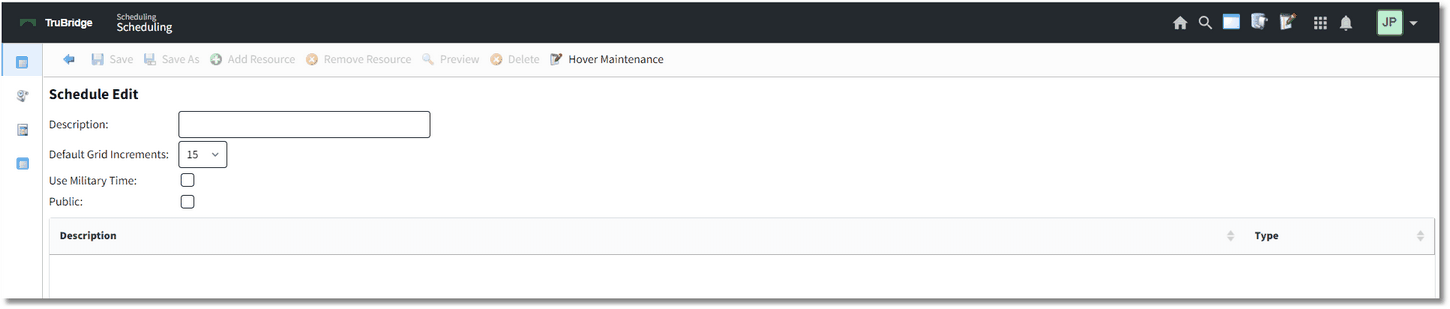
Scheduling Options - Schedules
Complete the following fields:
•Description: Enter in the name of the schedule.
•Default Grid Increments: Select the number of minute increments to display on the scheduling grid.
•Military Time: Select this option to view the scheduling grid times in Military Time.
•Public: This option will not be available for selection when accessing through Schedule Options. It will only be accessible through the Schedules table in Table Maintenance. For more information please see the Schedules section of this user guide.
Once all the appropriate fields have been filled out, select ![]() Save.
Save.
Add Resource
Then select ![]() Add Resource.
Add Resource.
The Resource Selection screen will allow locations and personnel to be added to the created schedule. Attached to each resource are tasks that may be performed by that resource.
To add a resource to the schedule, select the plus sign next to each resource under the Search Resources column to add it to the Pending Resources column.
To remove a pending resource, select the minus sign next to the resource under the Pending Resources column.
Once all the resources have been added for the schedule, select ![]() Save Pending. The screen will then return back to the Schedule Edit screen.
Save Pending. The screen will then return back to the Schedule Edit screen.
NOTE: If a schedule is created in error, or needs to be deleted completely, select the Delete option from the action bar.