|
<< Click to Display Table of Contents >> Updating Orders - Pending Order Review |
  
|
|
<< Click to Display Table of Contents >> Updating Orders - Pending Order Review |
|
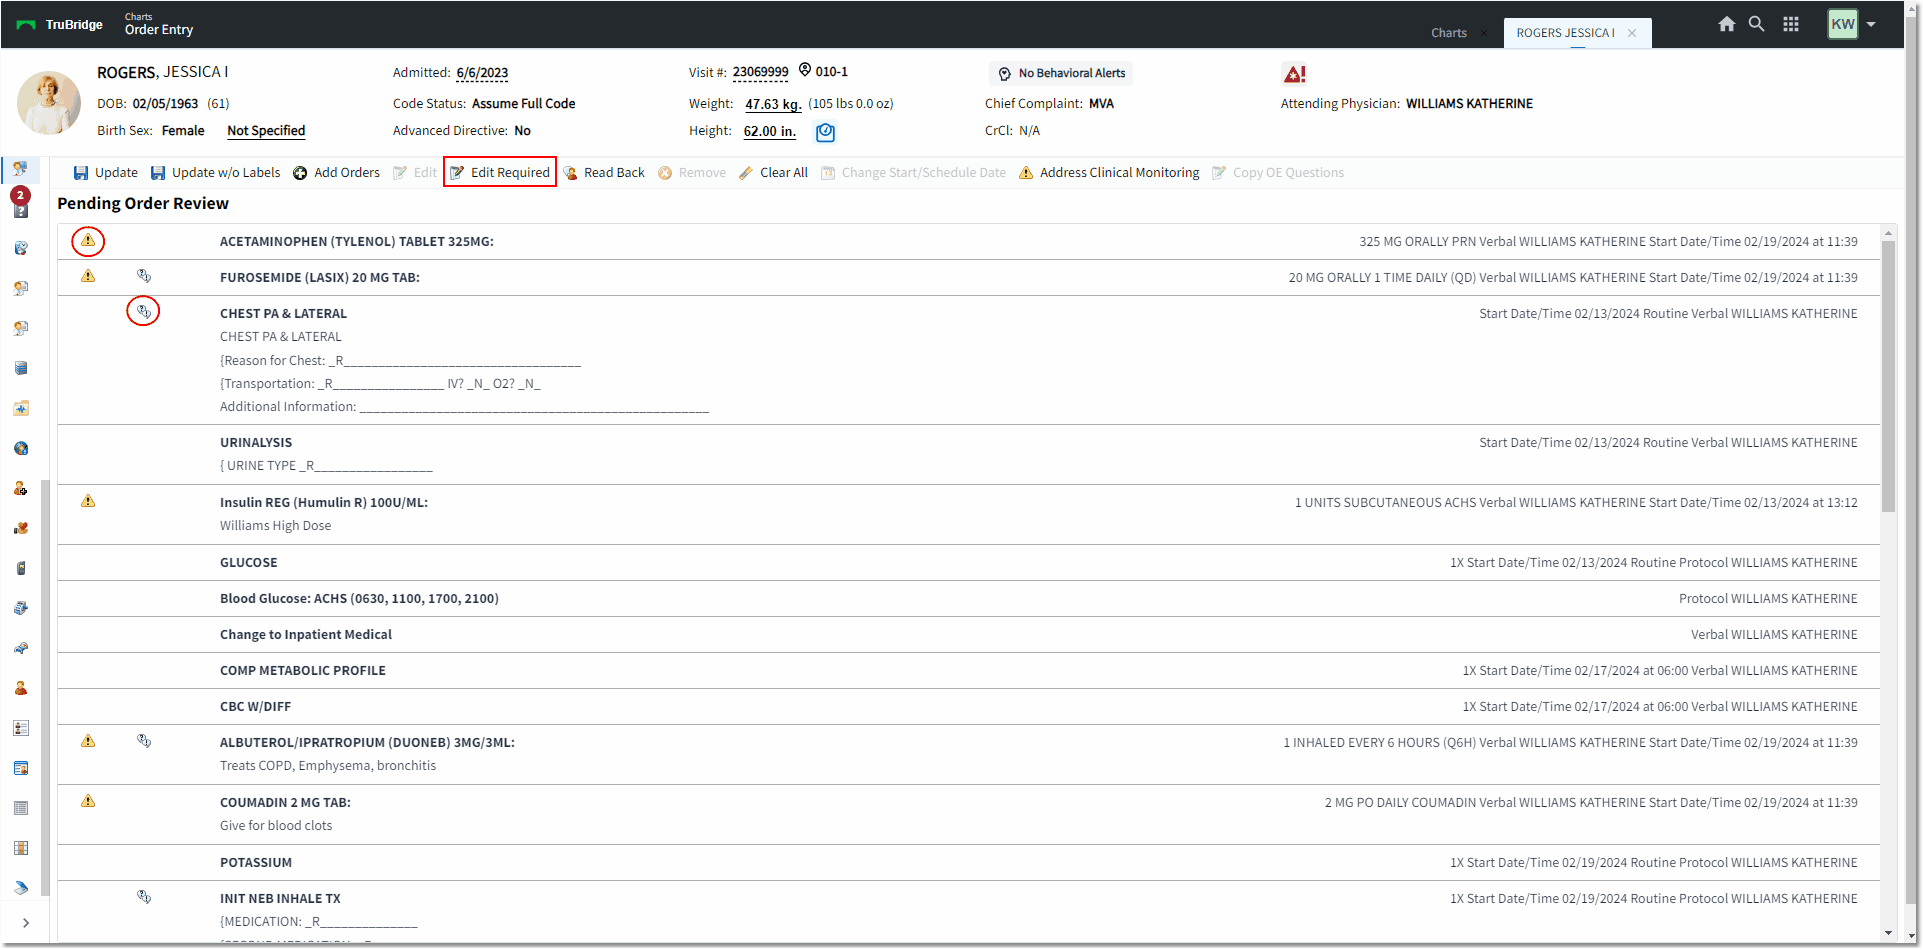
Once all orders have been edited in the Pending Orders box, select Review from the action bar. Highlight the items needing to be removed and select remove from the action bar. Items may be multi-selected by selecting the Crtl button on the key board and selecting multiple orders. Note that ALL order detail displays within this page: Item Description, Dose, Frequency, Order Type, Ordering Provider, Start Date/Time, Required Questions (_R____), and any Instructions added for Medication Orders.
•Orders with Clinical Monitoring results that need to be reviewed will display with a yellow triangle with an exclamation point icon to the left. Orders with Clinical monitoring results that require overrides by the user will display with a red stop sign icon to the left. To address Clinical Monitoring, select Address Clinical Monitoring from the action bar. Most Clinical Monitoring will apply to medication items, but may also display for ancillary orders if they are duplicated within a certain time period (e.g. CBC).
•Orders that have required information fields that need to be addressed will display with the question mark and exclamation point bubbles icon to the left. This will display for any orders that Read Back was not previously selected for during the order editing process. (See the Edit Required section below for mass addressing items with required fields.)
▪Note: Read Back may be selected at the top of the Pending Order Review screen for ALL orders if it was not selected previously. The required information icon should "fall off" of any items that ONLY needed Read Back selected.
Select Order Entry > Review
Pending Order Review
•For a non-physician login with the ability to change the Ordering Physician field, the review screen will display orders placed for multiple Physicians.
•Each Pending Order will display in the order that it was added. It will display the order entry information that has been entered, including the Order Type, Ordering Physician, Start Date and Time, any Order Entry Questions that may have been answered and any Instructions that may have been entered. Nursing Orders will display the full description of the order in wrapped text
•Changes may be made to pending orders from the Order Review screen. If an item requires any additional information, a question mark icon will appear to the left of the item.
•To edit an existing order, select the order, and select Edit from the action bar. This will launch the Order Edit screen.
•If an order needs to be deleted, select the order, then and select the Delete option from the action bar.
•The Schedule Date and Time and the Start Date and Time may also be set from this screen. Select the order(s) and then select Schedule/Start Date and Time from the action bar. Once the necessary changes have been made, select the Save icon.
The action bar allows the user to quickly access different order entry options.
•Update: Updates all orders and will print an order verification sheet. If any orders have required fields that have not been addressed previously, the order edit screens will launch for those items. If the facility is utilizing Positive ID, the user will be prompted to answer the Positive ID questions at this point. The Update option will not be available to select until Clinical Monitoring has run.
▪Order Sheets - If the Updated Medical Necessity application is activated, both the ICD-9 and ICD-10 codes and descriptions entered during Order Entry will display on the Order Verification Sheets. If the Updated Medical Necessity is not activated, only ICD-9 codes and descriptions entered during Order Entry will display on the Order Verification Sheets.
▪Diagnosis Code fields have been expanded to 7 characters and diagnosis fields have been expanded to allow up to 80 characters on the Order Verification Sheet in order to display ICD-10 codes and descriptions.
▪Once Update is selected, the screen will display Updating... and then the message Orders have updated successfully. There will be an OK option on the action bar that may be selected to return to the Order Entry search screen. If the option is not selected, the user will still be directed back to the Order Entry search screen.
•Update w/o Labels: Updates all orders but will not print a verification slip. If any orders have required fields that have not been addressed previously, the order edit screens will launch for those items.
•Add Orders: Returns the user to the order entry screen
•Edit: The option will be enabled once an order(s) have been selected. This will open to the Order Edit screen(s) for the selected item(s).
•Edit Required: Displays if any orders have fields that need to be addressed before they are updated. Items with a question mark and exclamation mark bubble to the contain required fields that must be addressed prior to Updating. Selecting Edit Required will create a queue of ALL items with required fields (the number of items to be addressed will appear at the top left of the edit screens), so that the user may address the fields and Update the order. Once this has been done, the next order in the queue will populate to be edited. After the last required item has been edited, the user should be returned to the Pending Order Review screen and no longer see the Required Information icon.
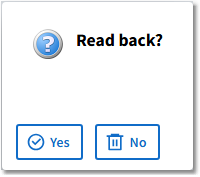
•Read Back: If Verbal or Phone orders have been placed, the user will be able to select Read Back from the action bar. This will allow the user to address whether or not all of the orders were read back at one time. When selected, the user will be prompted to confirm with a pop-up box.
•Remove: The option will be enabled once an order(s) have been selected. This will open to the Order Edit screen(s) for the selected item(s).
•Clear All: Removes all pending orders and opens back to the Order Entry screen.
•Change Start/Schedule Date: This option will be enabled once an order(s) have been selected. It will open to the Set Start/Schedule Date screen where a date and time may be entered.
•Address Clinical Monitoring: See Clinical Monitoring
•Copy OE Questions: The user has the ability to copy order entry questions from one order to another.
▪To copy order entry questions, select the ancillary order that the Order Entry questions have been answered, then select Copy OE Questions from the Action Bar.
▪The ancillary orders that qualify for copying OE Questions will display; multiple orders may be selected at one time.
▪Select Copy from the action bar to copy an answered questions.