|
<< Click to Display Table of Contents >> Attaching a Reflex to a Check Box Control |
  
|
|
<< Click to Display Table of Contents >> Attaching a Reflex to a Check Box Control |
|
Attaching a Reflex to a Check Box Control
1.Select the Reflex tab on the check-box control, then select the magnifying glass icon. A reflex lookup screen will display. Select the appropriate reflex. The code of the selected reflex will display in the appropriate code field on the screen.
2.Key in a value in the field labeled “Value when box is checked”. This is the value that will be figured into the Answer Range. The value should at least be equal to 1 (since the default Answer Range is > 0 or < 999).
Select Check Box Control > Reflex
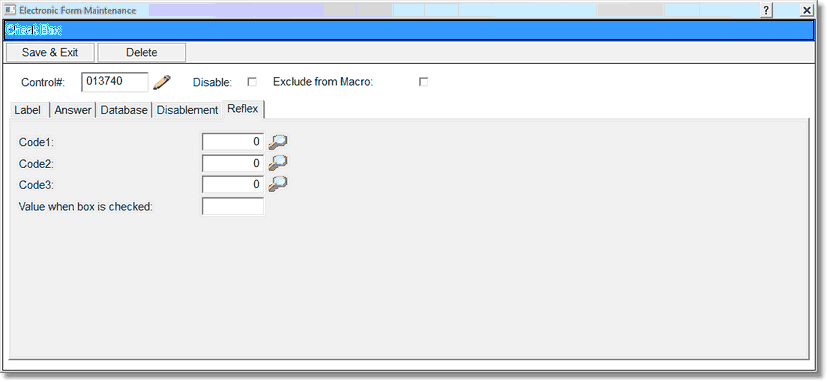
Check Box Reflex
3.An (R) appears on the maintenance screen when a check box control has a reflex code in the setup.
4.Select Save & Exit.