|
<< Click to Display Table of Contents >> Text Box |
  
|
|
<< Click to Display Table of Contents >> Text Box |
|
Text boxes are used to set up a free text field where the answer will be a single line (no more than 99 characters).
1. Select New Control.
2. Select Text Box.
Select Electronic Form Maintenance > Electronic Form > New Control > Text Box
Text Box
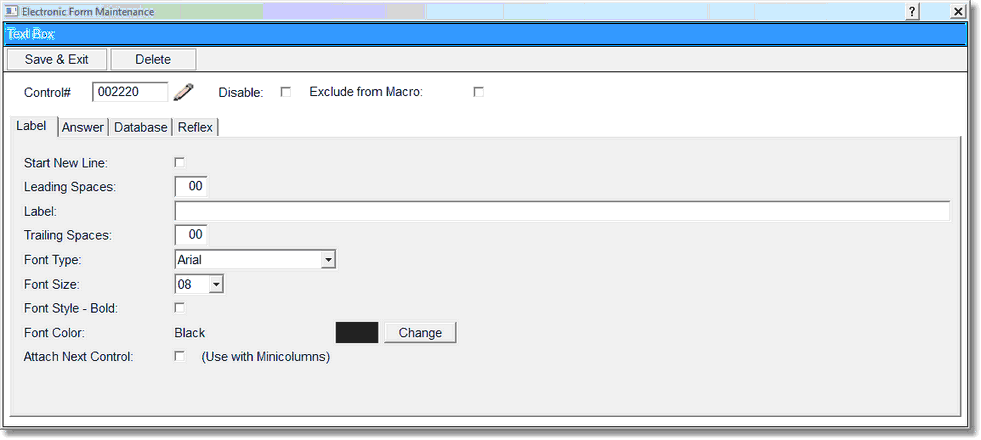
The following options are available of the Label Tab of the Text box control:
•Select Disable if the Text Box is to be inactive on the electronic form but is not to be deleted from the setup. A disabled control will have an asterisk (*) appear next to the control number on the Electronic Form Maintenance display.
•Select the Start New Line field if the entry is to be entered on a new line.
•Enter the appropriate number of spaces prior to the text box by selecting the Leading Spaces field.
•Enter the description that will display on the Electronic Form by selecting the Label field and entering the description
•Enter the appropriate number of spaces that will be between the text box description and the text box by selecting the Trailing Spaces field.
•Select the Font Type field if the font type is to be different than the default setting for the Electronic Form.
•Select the Font Size field if the font is going to be different than the default setting.
•Select the Font Style – Bold field if the font is to display in bold on the Electronic Form.
•Select Change in the Font Color field if the font is to display in a different color .
•Select Attach Next Control when in a multi-column setup, if the next control should remain in the same column as this control.
Select the Answer Tab to continue the text box control setup.
Select Electronic Form Maintenance > Electronic Form > New Control > Text Box > Answer

Text Box Control Answer Tab
The following options are available of the Label Tab of the Text box control:
•Set the width of the text box by selecting the Width field. The answer width should be able to hold the longest answer. The maximum number of characters that this field may accommodate is 99.
•To set the font size of the entry on the Electronic Form, select the Font Size field. The options are 08, 10, and 12.
•Title: Enter a description for the answer. This will be shown in the changes detail screen on a patient. The description will also show on the popup window if required or warning is selected.
•Required Feature: If Yes is selected for the control, the user will not be able to go to another page, print, lock, or exit the form without addressing the appropriate field(s). If Warning Only is selected, the user is given a prompt that this question should be addressed on the form, but TruBridge EHR will allow going to the next page, printing, locking, or exiting the form without addressing the field. The information must be typed in the Title field on the answer tab of the control, and this text will display on the prompt as the description of the field that should be addressed.
NOTE: Currently, if the form is a multiple page form and all pages are not accessed, TruBridge EHR will not prompt the user that there are required or warning only controls set up on pages that are not accessed. However, if the user does access the other pages, the appropriate prompts will display.
•Trigger, Calculated, Narrative Code, PMH, and MPM Flowchart are no longer used.
•Default: If a default answer is entered, this will be the answer that appears on the form when it is selected on a patient.
Select the Databasetab to continue the text box control setup.
Select Electronic Form > New Control > Text Box > Database
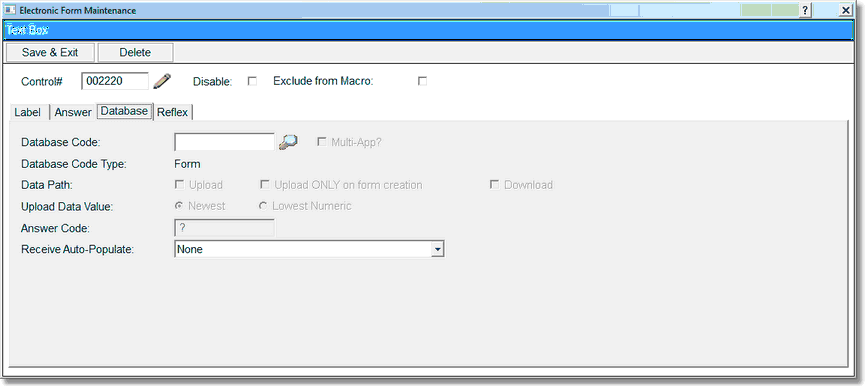
Text box Control Database Tab
•Select the magnifying glass icon next the Database Code field to search for existing database codes.
•This will open the Database Links screen. Select the appropriate link from this listing.
NOTE: To change the code to a Multi-Application code so that the answer may populate the POC Flowchart, select the Multi-App check box after loading the form/formless database code.
•Select the Data Path if a Database type code or System code is added in order to have information pull to the Electronic Form or download from the Electronic Form to TruBridge EHR. The Data Path field has three options. Upload will load information from TruBridge EHR to the Electronic Form. Download will send information from the Electronic Form to TruBridge EHR. Upload ONLY on form creation will populate the text box if there is already an answer supplied for the patient in TruBridge EHR or on another form associated with the database code on the first time the form is opened only. Refer to the section below for instructions in using the Reference Range Database Codes. If the code is a form, form/formless, Reference Range, or Multi-app code, then it will not have any upload, unload only on form create, or download option selected.
Select the Reflex tab to continue the text box control setup.
Select Electronic Form > New Control > Text Box > Reflex
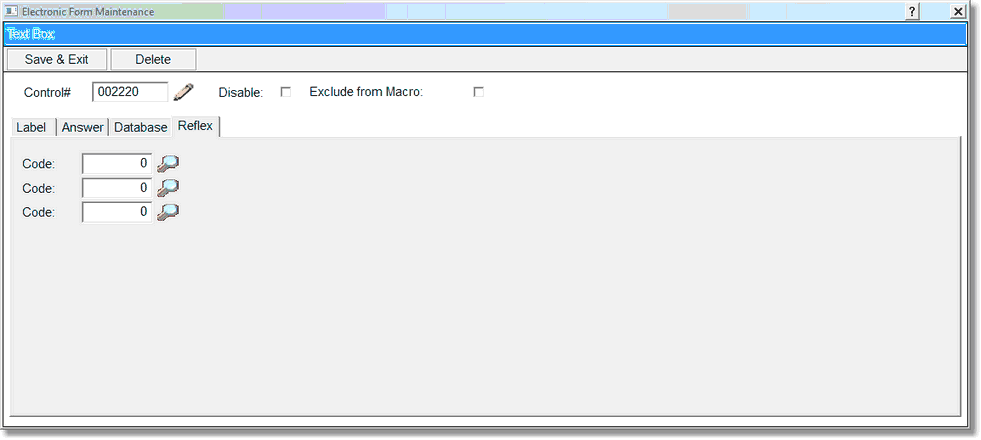
Text box Control Reflex Tab
•Enter the Reflex code or select the magnifying glass to access the Reflex Look-up. A maximum of 3 reflexes may be added to the control. (Please refer to the Reflexing Chapter for more information on reflexing.)