|
<< Click to Display Table of Contents >> Faxing |
  
|
|
<< Click to Display Table of Contents >> Faxing |
|
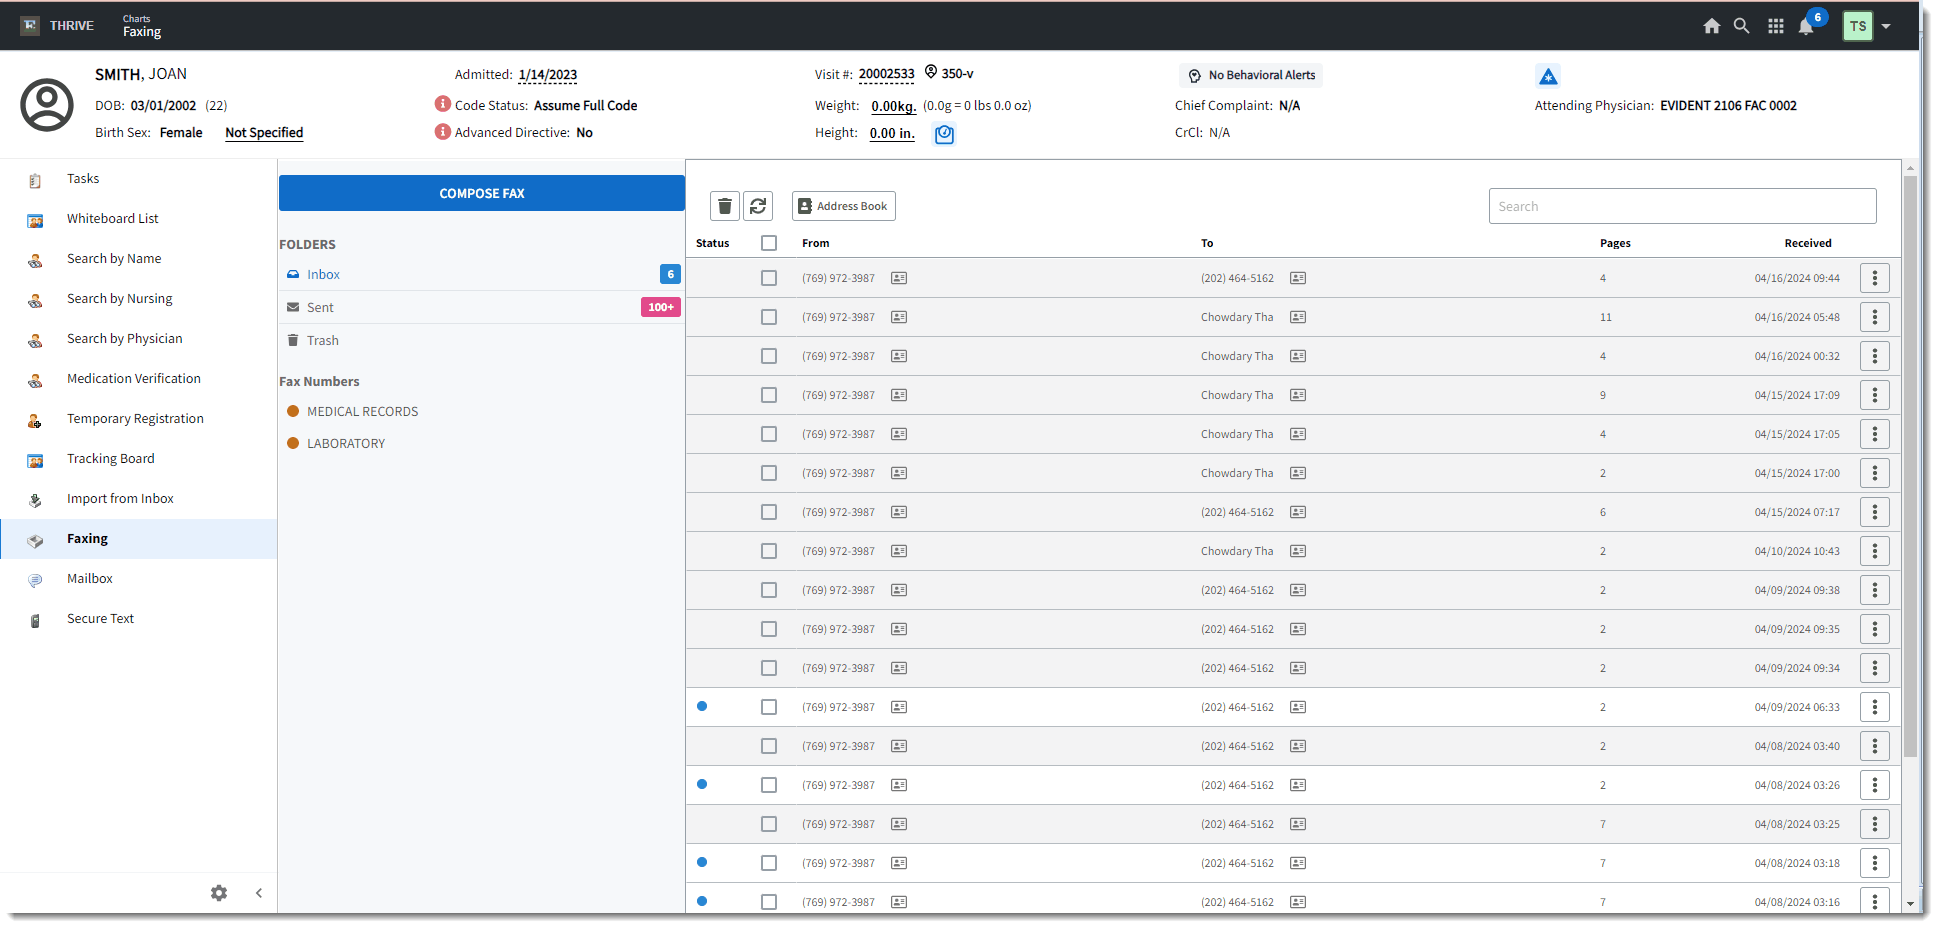
The Faxing application provides a list of incoming and outgoing faxes, as well as a way to compose and generate fax messages.
•Sent faxes display a Fax Acknowledgment page, which includes details and success status, prior to the first fax page.
•You can route an inbound fax for provider signature. Setup is required. See Routing a Fax to a Provider's Esign Queue for details.
This allows users to assign an incoming fax to a provider’s Esign queue for signature. Users will need to match the LOINC code in Document Types with a LOINC code in Image Titles.
Step 1: Select an Existing Document Type or Create a New Document Type
1.Select Web Client > Faxing, then select the gear icon to access the Communication Center Configuration area.
2.From the Document Types section,select the Create button.
3.On the Create Document Type screen, enter the Description and search for the desired LOINC Code. Then select Save.
NOTE: Remember the LOINC Code you selected. You will need to attach the same LOINC Code to the Image Title in Step 2 (below).
Step 2: Attach the LOINC Code Used in Document Types to an Image Title
1.Select Web Client > Application Drawer > Tables > Business Office > Images > Titles.
2.If creating a new Image Title, be sure to:
•Give it a Title.
•Select the Allow Esign box.
•Select the Images check box for Clinical History.
•Enter the same LOINC Code that was attached to the Document Type (in Step 1).
•Select Save.
Step 3: Attach the Incoming Fax to a Patient
1.Select Web Client > Faxing > Inbox > Open the fax.
2.In the Document Assignment section, select the Select Patient button and choose the appropriate patient.
3.Select the Select Encounter button and choose the appropriate encounter.
4.Enter the Document Name. The name you enter here will appear as the title of the document on the Sign Images page (in the Step 4 procedure below).
5.Select the Document Type that you created in the Step 1 procedure.
6.Select the Document Category.
7.Select Save.
Step 4: Assign the Fax to the Provider Queue
1.Select Web Client > Application Drawer > System Menu > Patient Accounting > Master Selection > Assign Images to Sign Queues.
2.Select the document requiring a signature.
3.Select Assign.
4.Search for and select the provider. You can also select multiple providers.
5.Select OK.
Step 5: Provider Signs the Document
Once all the above steps are completed, the provider can then locate and sign the document from the Tasks Screen.
Select Web Client > Application Drawer > Charts > Tasks.