|
<< Click to Display Table of Contents >> Running the Report |
  
|
|
<< Click to Display Table of Contents >> Running the Report |
|
To run the Prescription Entry Cleared Temporary Orders report:
1.Go to Web Client > Application Drawer > Report Dashboard.
2.Select Add from the action bar.
3.Search for and highlight Prescription Entry Cleared Temporary Orders Report.
4.Select Insert.
5.Select Prescription Entry Cleared Temporary Orders Report from the Report Dictionary screen.
6.Select Run.
7.Select the appropriate parameters and options for the report:
•Facility: Select the facility for which the report is needed.
•Profile: Enter the patient profile number.
•Visit ID: Enter the unique patient visit ID (account number).
•Visit Name: Enter the patient name.
•Rx Entered Date Range: Enter a date range to search for prescriptions added during that time frame.
•Rx Removed Date Range: Enter a date range to search for prescriptions removed during that time frame.
•Include Cover Sheet: To include a cover sheet with the generated report, select this check box. To exclude a cover sheet, leave it unchecked.
•Safe Mode: To run the report in safe mode, select this check box.
•Output Format: Choose the file format for the generated report (PDF, XML, CSV, HTML, MAPLIST, or TXT).
•Page Orientation: Choose the page orientation for the printed report (Portrait or Landscape).
8. The action bar includes the following options:
•Run Report: Select this option to generate the report based on the selected parameters and criteria.
•Advanced: Select this option to set and save additional fields and parameters for the report.
•Sort: Select this option to change the default sorts.
•Save: Use this option to save the selected parameters for future use. After selecting the Save button, enter a name for the saved parameters in the Parameter Set Name field and select Save. Then, to use the saved parameters again, select the Load button and choose the appropriate saved parameter name from the list. To delete saved parameters you no longer need, select them from the list and select Delete.
•Load: If you have previously saved certain parameters (using the Save button, described above), use this option to load those saved parameters again. Select the parameters you want to use from the list; then select Load. Note that the list will be empty if no parameters have been saved.
•Spool: Select this option if you want to generate the spool file for the report rather than open the report file for viewing/printing.
•Reset: Select this option to clear all field selections.
9. Select Run Report. The report displays in the selected output format.
Once the desired parameters have been set, the action bar on the Report Writer screen provides several options in addition to simply running the report.
Select Web Client > Report Dashboard > Prescription Entry Cleared Temporary Orders Report
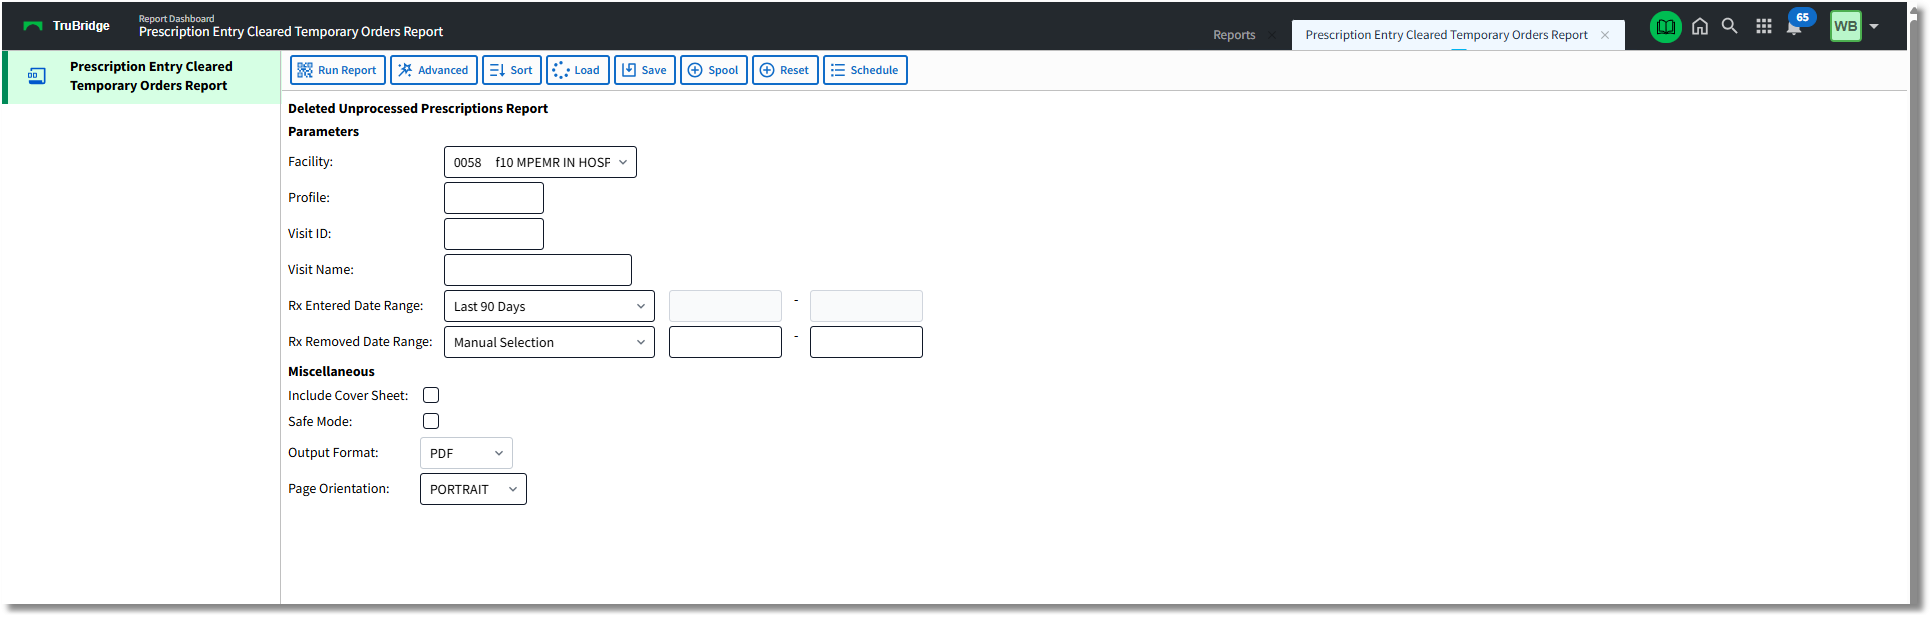
Deleted Unprocessed Prescriptions Report Parameters