|
<< Click to Display Table of Contents >> Creating Custom Filters |
  
|
|
<< Click to Display Table of Contents >> Creating Custom Filters |
|
To create a custom filter, select Customize on the action bar. Previously selected Filters will display for selection. Select one or multiple filters as necessary by checking the appropriate check box. If multiple filters are selected, the My Custom option will be inclusive of all selected filters.
Select Web Client > Charts > Tracking Board > Customize
Customize Filters
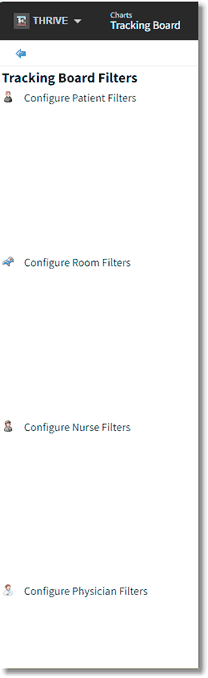
To add new filters to the display, select the desired filter configuration:
| • | Configure Patient Filters |
| • | Configure Room Filters |
| • | Configure Nurse Filters |
| • | Configure Physician Filters |
Previously selected Tracking Board Filters will display for the appropriate configuration. Filters may be added, removed or set as a default.
To add another filter, select Add. This will open a list of available filters. If the desired filter is not listed, select New.
Determine who the filter will be available for; individual provider, group, or for the facility. Give the filter a title by selecting (Filter Title).
Enter the filter title into the available field and select OK.
Select Add. The allowable filters will display according to the category of the filter to be configured. Select the desired filter and OK.
Filters may be configured to include or exclude certain values and may also be configured using greater than or less than values. Double-click the appropriate value and free-text the desired value in the field at the bottom of the screen. When finished, select the Back Arrow to return to the filter's parameters screen.
NOTE: If assigning multiple values to one filter, use the Enter key on the keyboard after each entry. This will automatically separate the individual values with a comma.
At the bottom of the filter's parameters screen, select one of the filter methods of "Show records that match ANY of the selected criteria (or)" or "Show records that match ALL of the selected criteria (and)."
Select Save and then the Back Arrow to exit back to the filter selection screen.
Highlight the desired filter from the list of available filters and choose Select from the Action Bar or just double-click the filter.
Once the filter has been added to the Tracking Board Filters list, set the default value by highlighting the desired filter and selecting either Default Checked or Default Unchecked from the Action Bar. Filter Methods may also be found at the bottom of the Tracking Board Filters screen to choose between data matching of ANY or ALL of the selected criteria.
Select the Back Arrow twice to return to the Tracking Board.