|
<< Click to Display Table of Contents >> Next Available |
  
|
|
<< Click to Display Table of Contents >> Next Available |
|
Anytime the Reschedule option is selected, the Next Available option will be enabled. This will display a listing of all available resources, dates and times for the task that is currently scheduled.
To begin using the Next Available option, select the patient from the grid and then select ![]() Reschedule.
Reschedule.
The patient's slot on the grid will turn red to indicate it has been selected for rescheduling. The top of the screen will also indicate the patient that has been selected for rescheduling.
Select ![]() Next Available to display a listing of available resources, dates and times for the selected task. If no availability is found, a message will display saying "No match for the criteria."
Next Available to display a listing of available resources, dates and times for the selected task. If no availability is found, a message will display saying "No match for the criteria."
Select Web Client > Scheduling > Select Appointment > Reschedule > Next Available
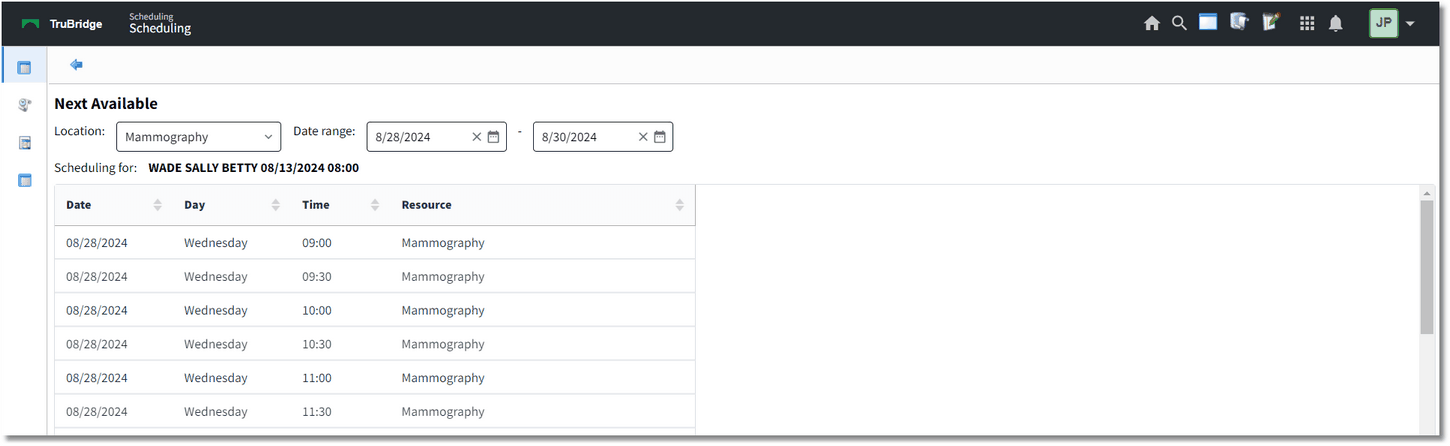
Reschedule - Next Available
Double-click the new resource, date and time once it has been determined.
NOTE: To stop the reschedule process, select the back arrow from the action bar without making a selection. Then select the Save option from the action bar.
Once selected, the appointment will be scheduled and the previous time slot will be released from the grid. The scheduler will then be taken back to the scheduling grid.