|
<< Click to Display Table of Contents >> Group Task Patient Scheduling |
  
|
|
<< Click to Display Table of Contents >> Group Task Patient Scheduling |
|
To start scheduling patients in the group task, double-click on the group task from the scheduling grid.
Select Web Client > Scheduling > Select Group Task
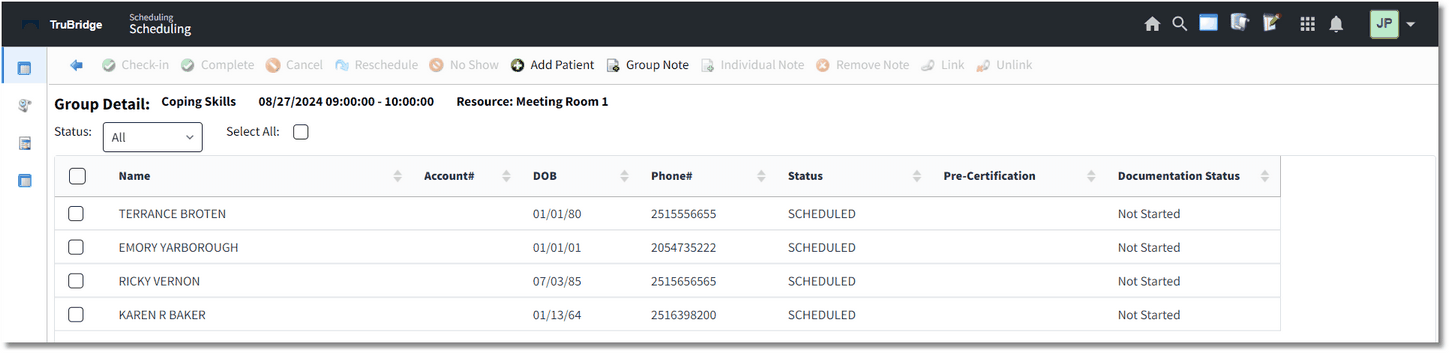
Group Detail Screen
The Group Detail screen will then display. Select ![]() Add Patient from the action bar.
Add Patient from the action bar.
NOTE: If the maximum number of patients has been scheduled for the group task, the Add Patient option will not be available. However, if the user has the Behavior Control "Overbook Appointments" set to allow, this will allow the maximum number of patients set for the task to be ignored.
The Patient Search screen will then display and will allow the patient to be searched, then scheduled.
The Event screen will display to fill out information regarding the patient's appointment. Once all information has been entered, select ![]() Update.
Update.
The patient will then be listed on the Group Detail screen. Every patient scheduled for the selected group task will be listed on this screen.
As patients are scheduled for a group task, the number of patients will display next to the description of the task and in any corresponding blocked off cells. Hovering over the group task will display a pop-up. Depending on table setup, it will either display the number of patients scheduled for the group task, or it will display the names of the patients scheduled for the group task.
NOTE: To display the names of the patients scheduled for the group task, 'Hover: List Patient Names in Group Task' will need to be selected in the General Control table. Please see the General Control section of this user guide for more information.
Select Web Client > Scheduling
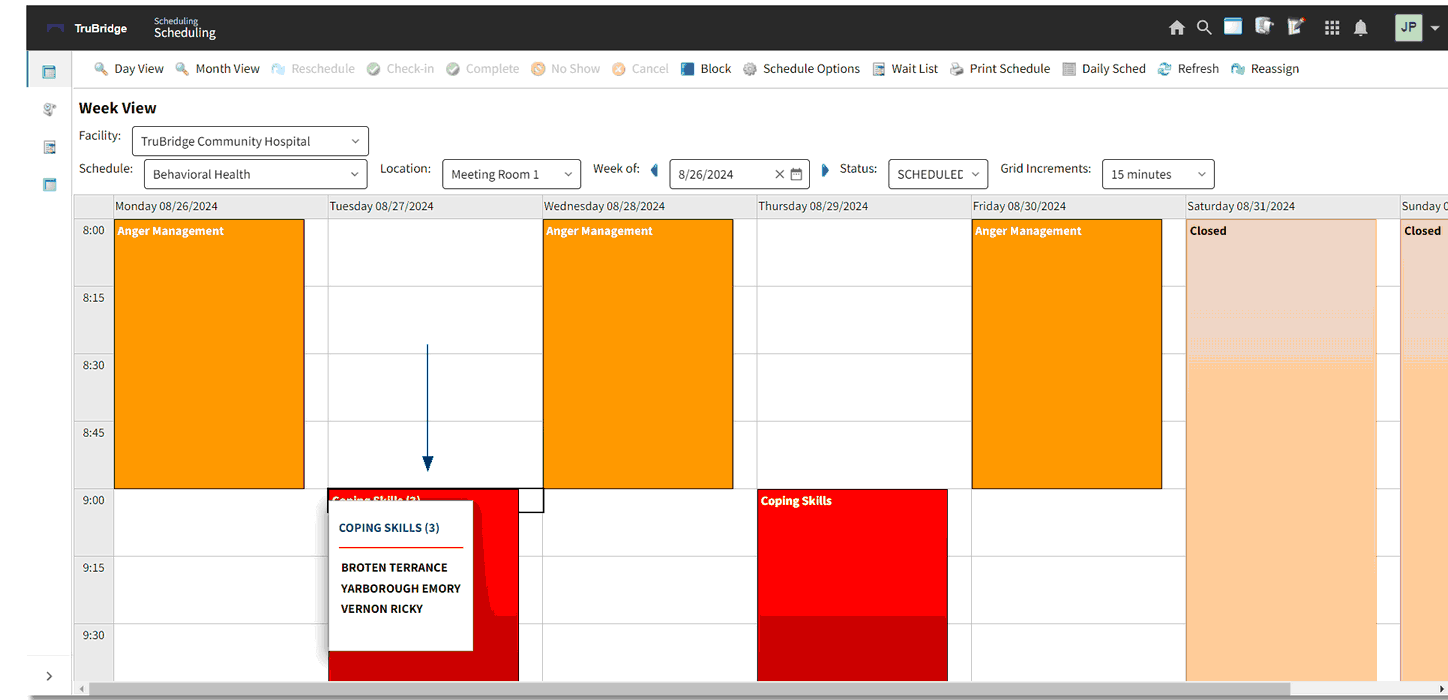
Group Task - Scheduling Grid