|
<< Click to Display Table of Contents >> Generating a Reflex |
  
|
|
<< Click to Display Table of Contents >> Generating a Reflex |
|
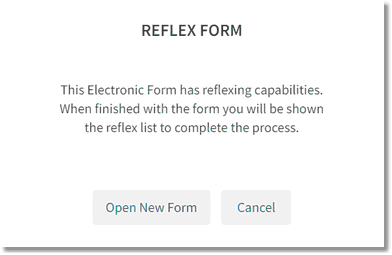
When an Electronic Form having reflexing capabilities is selected on a patient, a prompt will display letting the user know reflexing is set-up on the form and reflexes may be processed when the save/exit icon is selected after documenting on the form.
Select Charts > Patient > Electronic Forms > Form Title > Reflexing Message
Reflexing Message
The available options on this prompt are Open New Form, which will take the user into the form, and Cancel, which will take the user back to the selection menu.
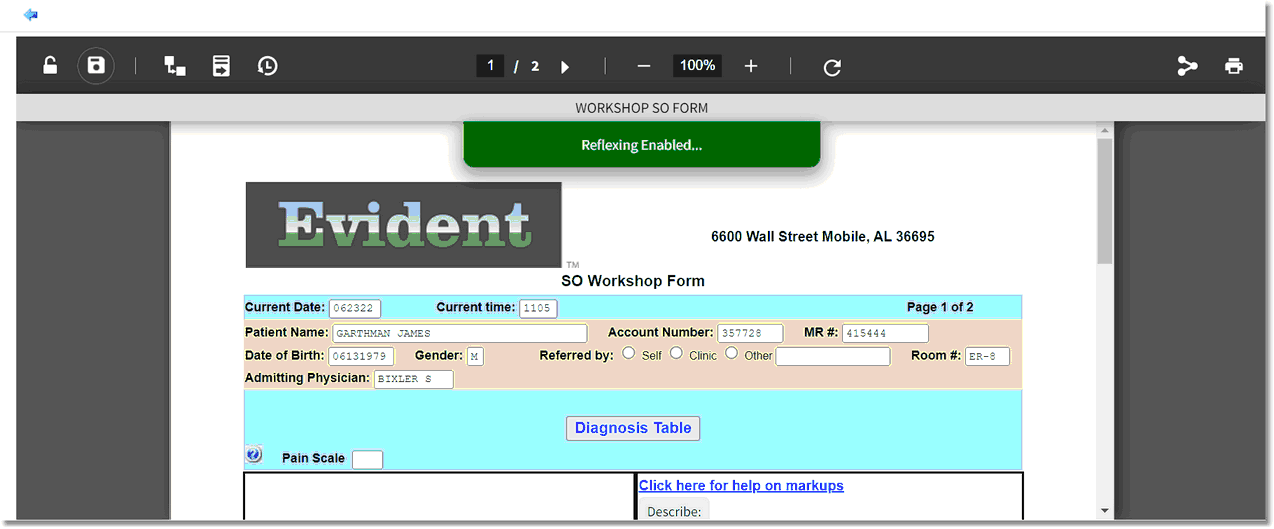
Once a page within an Electronic Form having reflexing capabilities has been documented on, a prompt will display at the top of the form letting the user know reflexing has been enabled.
Select Charts > Patient > Electronic Forms > Form > Control with Reflexing attached
Reflex Enabled
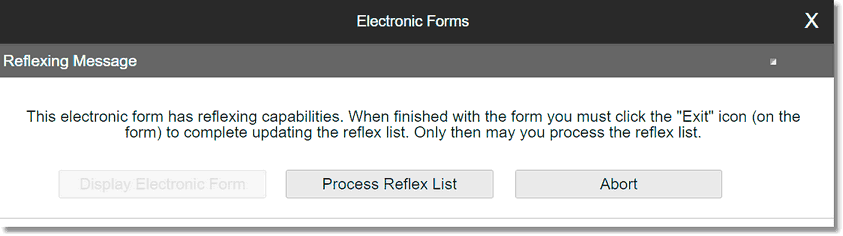
When Save (Keep Changes) is selected, the Reflexing Message will display to allow the reflex(es) to be processed:
Select Charts > Patient > Electronic Forms > Form > Document > Save (Keep Changes)
Reflexing Message
The available options on this prompt are: Process Reflex List which will take the user to the Electronic Form Reflexes Review screen and Abort which will take the user back to the selection menu without process any reflexes.
If Process Reflex List is selected, the reflex responses are to be generated will display on the screen. The response, description, reflex and send status will display. If a response does not need to be generated, the corresponding box in the send column may be deselected.
Select Charts > Patient > Electronic Forms > Form > Document > Save (Keep Changes) or Next Page or Previous Page> Process Reflex List

Reflex Review and Send
Once all appropriate items are selected, the option labeled Send Responses should be selected to process the responses. At this point the charges will be placed and the order screens will be displayed for further documentation and verification.