|
<< Click to Display Table of Contents >> DB (Database) Links |
  
|
|
<< Click to Display Table of Contents >> DB (Database) Links |
|
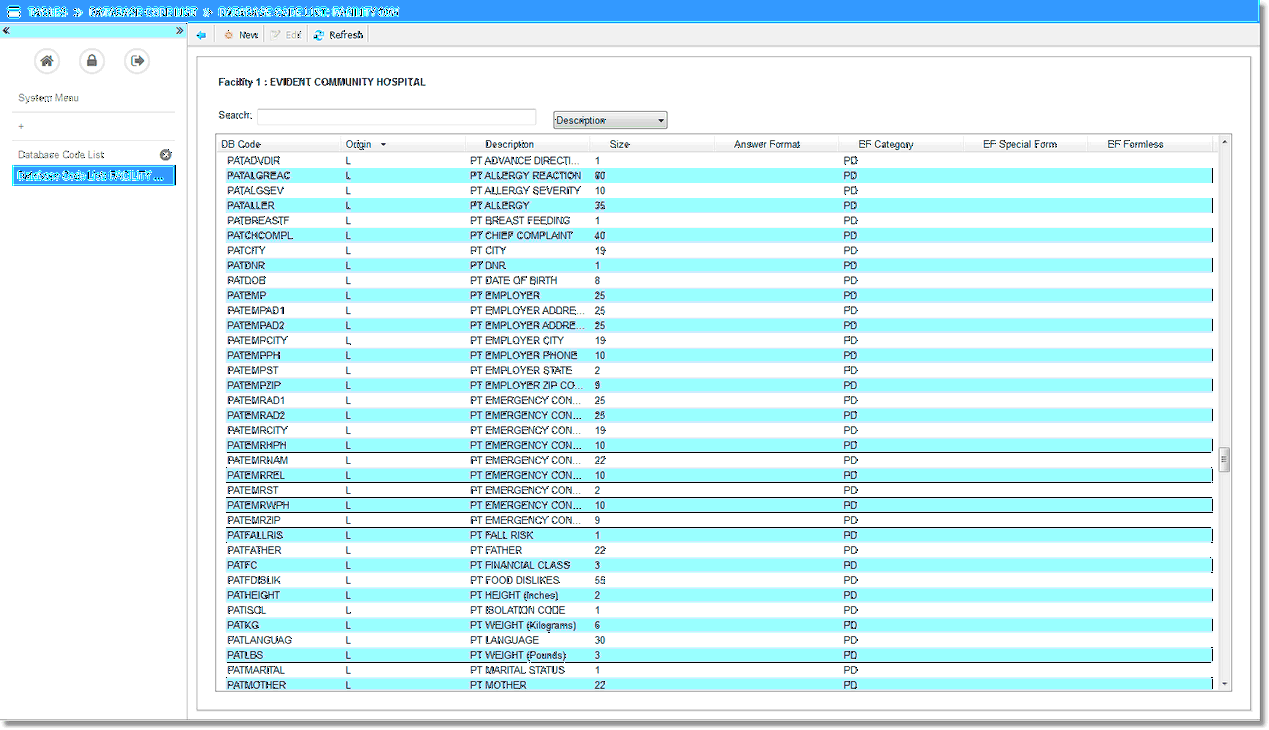
1.Select Database Links from the tables list.
2.The Database Links screen will display the Patient Data Category as default. The database codes may display by type: DB Code, Origin, Description, Size, Answer Format, EF Category, and EF Special Form.
3.To search for a code, enter the search by item in the blank field next to Search, then choose the type of code by which to search from the drop-down listing.
•Database type codes are created only by TruBridge personnel to link data to the TruBridge EHR system.
•Form codes or database codes starting with : 0BB, RHAB, RHBR, rhbr, or rhab have now been reserved for TruBridge Use Only. When attempting to use any of these codes, a prompt will appear stating that the code is reserved and to please select another code.
•Database Links may be used to generate Ad Hoc Reports. The reports may be customized to each facility's specifications. Instructions for accessing and building an Ad Hoc Report may be found in the POC Ad Hoc Report Generator User Guide.
Select Electronic Form Maintenance > Tables > Database Links
Database Links
4.To enter a new link, select New at the top of the screen.
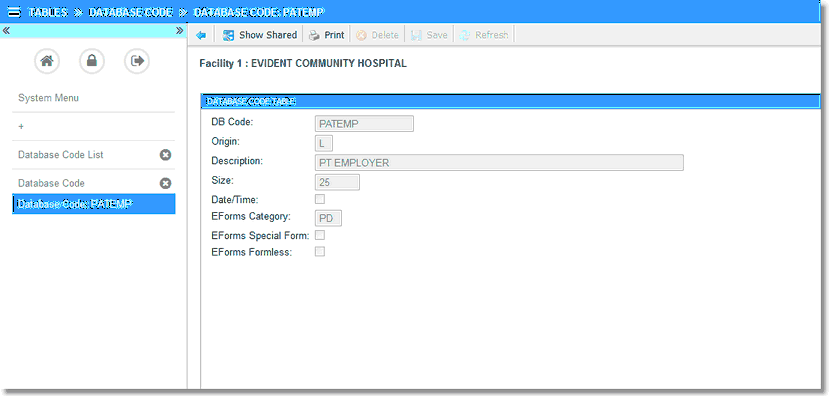
5.The Database Link Detail screen will appear.
6.Select the DBCode field to enter the code for the newly created Database Link. The codes should not contain spaces or special characters, only letters and numbers.
Select Tables > Database Links > New
New Database Code Table
7.Enter the Description of the database code in the Description field.
8.To set a predefined box size, select the Size field and enter in the default box width. The default size is 80.
9.If the code is used to capture Date/Time, check the box for Date/Time.
10.The Eforms Category should remain with PD in the field.
11.The Special Form field is to be used by TruBridge only.
12.Select the EForms Formless field if the documentation associated with the code should populate multiple forms on the same patient account.
13.Select the Print option if the code is to be printed.
14.Select Save to save the database code. To exit no update, select Delete.
15. To exit the Tables screen, select on the red X in the top right corner of the screen.
NOTE: To create a multi-application code for use with a POC Flow Chart, create a code using the above steps. Follow the instructions for adding the code to the control in the chapter "Building a New Electronic Form" under Text Box, Drop-down Box, Check box, and/or Radio Button control.