|
<< Click to Display Table of Contents >> Wait List Procedures |
  
|
|
<< Click to Display Table of Contents >> Wait List Procedures |
|
A patient cannot be placed on the wait until they have been placed on the schedule. To place a patient on the wait list, select the patient from the scheduling grid.
From the Appointment Detail screen, select ![]() Wait List from the action bar.
Wait List from the action bar.
The Wait List Edit screen will then display. The patient name, appointment type and resource will display first. Preferences may then be selected per the patient's request.
Select Web Client > Scheduling > Select Appointment > Wait List
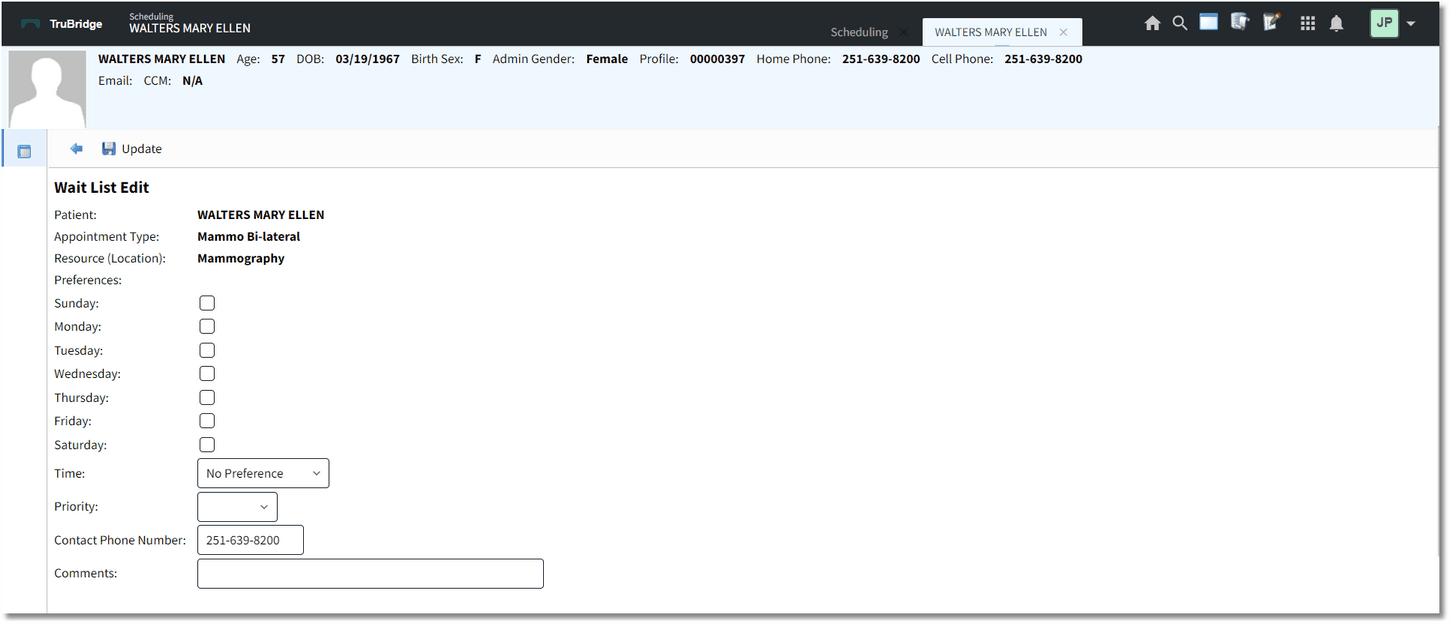
Wait List Edit
Below is an explanation of each Preference:
•Days of the Week: Select the days of the week the patient would like to try and get an appointment.
•Time: Select if the patient would prefer an appointment in the AM, PM or No Preference.
•Priority: Select if the patient's priority is Low, Medium or High. Selecting a priority will determine where the patient will be placed on the Wait List.
•Contact Phone Number: The patient's contact phone number will pull from what was entered for the appointment. This may be over-keyed.
•Comments: This is a free text field that will allow comments to be populated and will appear on the Wait List.
NOTE: It is not required that every field in the Preferences section be selected. If it is left blank, the patient will still display on the wait list.
Once all Preferences have been selected, select ![]() Update from the action bar.
Update from the action bar.